
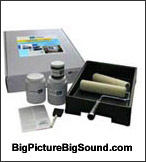
More and more homeowners (and renters) are getting into home theater in a big way. And sure, you can hire a professional to put your system together, from source components to screen, or you can do it yourself (DIY). For those in the DIY camp,
Big Picture Big Soundoffers a series of how-to articles such as "
selecting a home theater receiver and speakers," "
choosing a front projector" and "
setting up a subwoofer."
But once you've selected all the components, you still need somewhere to display your huge high-definition images and DVDs. To this end,
Big Picture Big Soundrecently oversaw three screen-painting projects, turning plain walls into high performance projection screen surfaces. This series of three articles describes the issues and challenges faced along the way.
The
first articlelays out the advantages of a high-quality screen surface and discusses some of the options and choices involved in the process. In all three projects, we were using Sanyo LCD projectors (PLV-Z2, PLV-Z3 and PLV-Z4, in that order). These are home theater projectors which each offer a 3-chip LCD light engine with a native resolution of 1280X720 pixels and a widescreen 16:9 aspect ratio.
Our
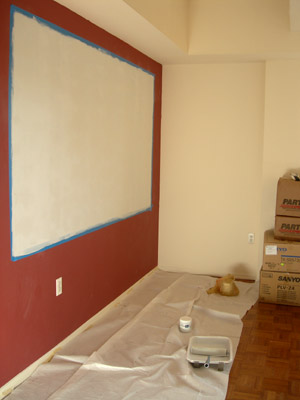
second articlein the series and first screen-painting project involved Goo Systems "ScreenGoo" – a paint specifically formulated to replicate the reflective properties of a projection screen. The "Digital Grey" color offers a screen gain of up to 1.2, as well as ehnanced contrast for digital projectors. We paired this paint with a frame made of wooden moulding, painted matte black to absorb and light bleed around the screen edges, affixed to the wall with high-strength industrial velcro.
This project was fairly labor-intensive, mostly because of the extensive wall repairs and surface preparation required in order to get the wall ready for the paint, but also in the assembly, painting and preparation of the frame. Also, it turns out that Goo's fast-drying formulation presents a bit of a challenge to apply with a roller, so care must be taken in handling and applying the paint.
Next up in
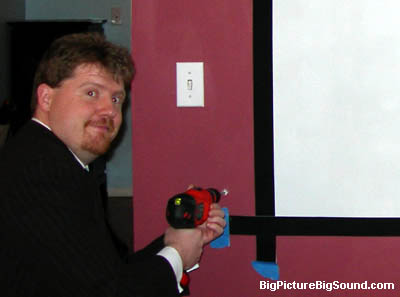
Part III, we tried out a lower cost, more easily obtainable latex paint from Behr called "SilverScreen." Behr paint is available at paint stores and Home Depots across North America. It's inexpensive, and easy to apply. We mated the Behr up with Visual Reality's "Flok" tape – a dense pile black tape, available in 2-inch and 3-inch widths. The Flok tape goes on your wall almost as easily as masking tape, and presents a nice finished border for your screen, accentuating contrast and color saturation. The Behr SilverScreen paint certainly offered an improvement over the previous beige wall, but did not quite offer the clarity, detail or vividness of the Screen Goo.
Our
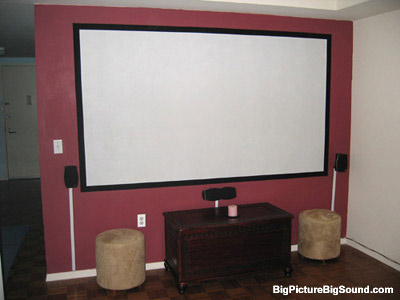
final projectmated Goo's "Digital Grey Lite" color with the Flok tape. Digital Grey Lite offers a slightly higher gain over the Digital Grey color (up to 1.4 on axis), which means that your image will appear a bit brighter than it would with a lower gain screen or paint formulation. In our judges' eyes, this combination presented the best blend of performance, value, and ease of application, but all three projects offered excellent results for a nominal investment.
Complete Series:°
DIY Projector Screen, Part I: The Set-Up°
DIY Projector Screen, Part II: Goo It Yourself°
DIY Projector Screen, Part III: Let’s Flok!
Leave a Reply